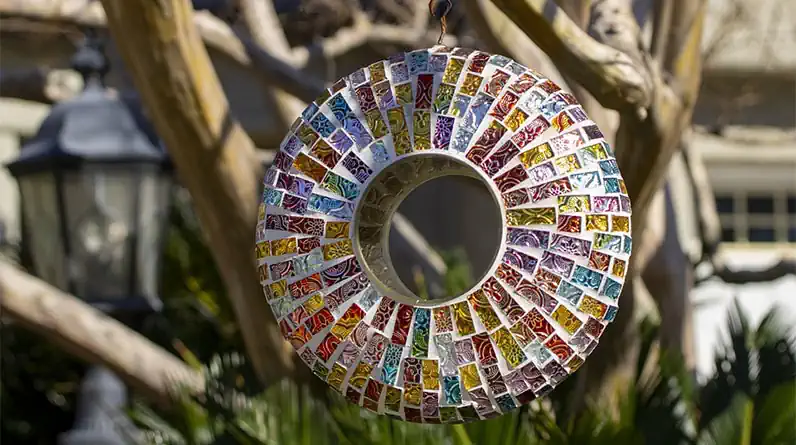
Beautify Your Home With a Stained Glass Window
Creating a stained glass window is one of the most beautiful ways to beautify your home. There are a few simple steps you can follow to create a unique, custom-made piece of art.
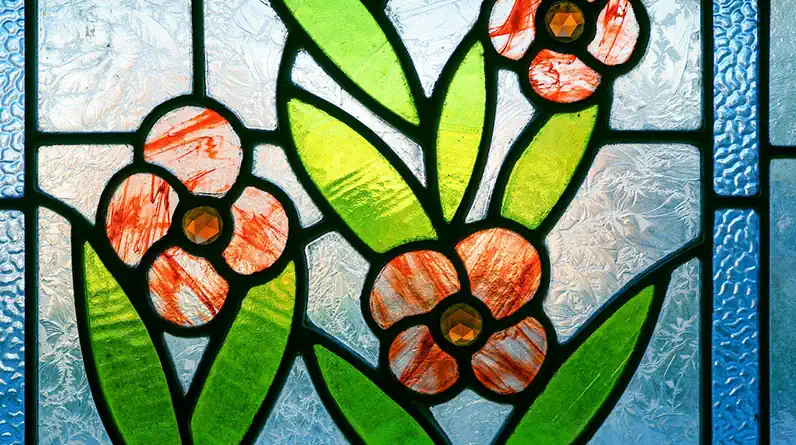
Stained glass windows are perfect for any home, especially those with a lot of natural light. They’re especially great for places like art studios, libraries, or even bedrooms. They can help to reduce glare and create a more comfortable space. It’s also a great way to reduce energy costs by keeping your home’s interior cooler.
Depending on the size of the window and the complexity of the design, the cost of creating a full stained glass window can range from a few hundred dollars to a few thousand dollars. Most of the cost is due to the time involved for the artisan, so if you’re doing it yourself, the cost is greatly reduced. Either way, it’s a worthwhile investment since these windows will last for many years and can become family heirlooms.
It Begins With a Pattern
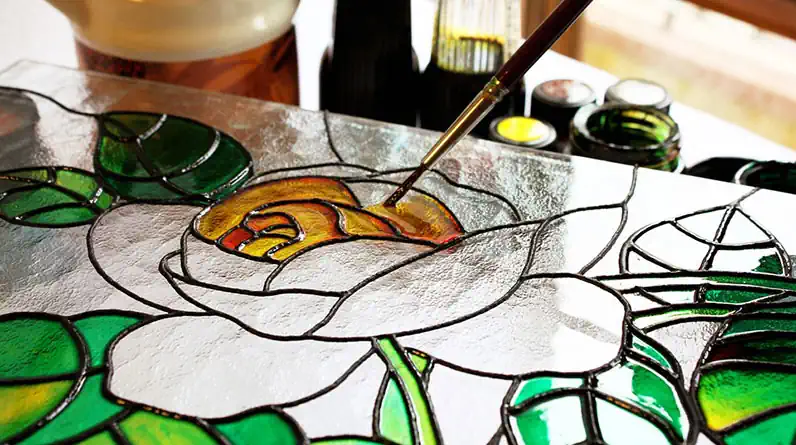
Using a stained glass pattern to create a beautiful panel is an essential step in the making of a stained glass window. Whether you are a beginner or a seasoned veteran, the time you spend designing and transferring a pattern onto the glass will help you to achieve a professional look.
There are several ways to transfer a pattern onto your project. One way is to lay the pattern on a thin piece of tracing paper and trace the pattern onto the glass. This can be done with a marker or grease pencil. This method can be used to transfer patterns to both opaque and transparent glasses.
The most accurate way to transfer a pattern is to use sticky back paper. This is a paper that can be taped together to make a larger sheet. You can also use carbon paper or laminated pieces. These will allow you to see the pattern easily when cutting.
Choosing Your Glass
The next step is to find the right glass for you. You can choose from a variety of colors and shapes. If you’re looking for an easier solution, consider using Gallery Glass coloring applied to regular glass. You’ll be surprised how realistic the finished product will look once it’s all said and done. Whether you use the gallery glass or actual colored glass to craft your own stained glass masterpiece, it will leave you with an heirloom that is sure to be a conversation piece for many years to come.
The most important part of the process is to be patient! I can’t stress enough that choosing your glass carefully and planning out the layout will make all the difference. If you take the time to do this correctly you’ll end up with a gorgeous work of art. If you’ve never created stained glass before, this is a great opportunity to try out your hand at it and enjoy the reactions you’ll get when people view your creation.
Apply The Glaze
Adding a glaze to create a stained glass window is an important step in achieving a final design. Using a good glazing compound, a glass or stained glass window will become more stable and waterproof. In the process, a unique “shine through” effect is achieved.
Several different techniques can be used to apply the glaze to create a stained glass window. You will find glazing compound in most paint stores. Depending on the type of glazing compound, it may take up to three days to dry. This will allow time for the oil-based compound to cure.
The window sash should be cleaned prior to applying the glaze. If the glass is to be left in the sash, the glazing groove can be left open.
Leaving the glazing in place can create condensation. The best way to prevent condensation on the glass is to use a lead-lined collection channel. If this is not possible, you can place the drainage out of the window. However, this will increase the condensation on the ferramenta.
Working With Your Glass
This can be a lengthy process and requires careful selection of the colors, ensuring the symmetry and assignment of the color to the glass. A large number of shades of glass are available, but they should be matched in the color palette.
The next stage is to cut the pattern into pieces. This is done by using a special glass cutter tool. Once the pattern has been cut, you can move the cut pieces into the glazing groove. You will also need a putty knife and a small brush.
When leading your glass pieces, an aluminum heat shield can be used to help reflect heat away from the glass. A heat shield can be made from aluminum foil. It should be positioned so that the flange faces the outside of the window. It is common to use brass nails or spring clips to hold the glass in place.
Choose the right glazing compound for your project. When purchasing a can of glazing compound, look for the words “boiled linseed oil” on the can. Avoid glazing compounds with soybean oil because they will not allow you to paint the windows within a reasonable amount of time, and they may cause discoloration on the paint.
When applying glazing compound to the windows, use a putty knife, not a taping knife. Taping knives are not wide enough to cover the surface of the glazing compound, and you will have to sand the compound back and start over. Putty knives are wider, which enables you to cover the surface of the compound with one swipe.
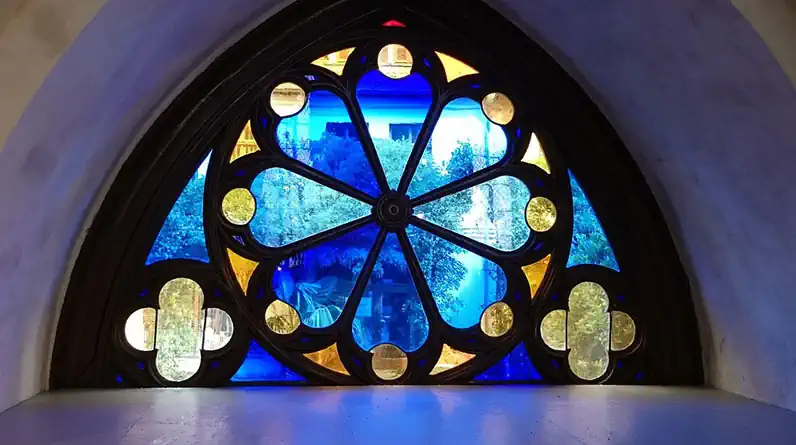
Research for Repairing Older Windows
Are you restoring a very old stained glass window? If so, it’s imperative to do the proper research if you want to keep its integrity and value.
Whether you’re looking to determine the date of a stained glass window or are just interested in repairing an old one, there are several steps you can take to get the right information. These steps include gathering existing information about the window and researching the building. You may also want to visit local libraries or historical societies to see photographs of stained glass windows in use. You’ll also want to consider the type of glass used and the leading.
The types of glass used for a stained glass window are a great way to determine its age. Opalescent glass is made from multicolored pieces of glass, often amber or green. Slag glass is a low-grade glass that was popular in the early 1900s. You can also find out how long the window has been in use by consulting a local historian.
Stained glass windows can be over 100 years old. If you aren’t sure what type of glass your window is made of, you can visit a glass store or check with a stained glass restoration company.
You can find out the history of your window by searching for records on the glassmaker or the craftsman who created it. These records might include details on the window’s construction, previous repairs, and the designer of the window. You can also find out the name of the stained glass artist who designed it.
A key way to determine the age of stained glass is to look for signs of wear. You’ll know if the window is cracked or if the putty is compromised. You can also see if the window is moving or shaking. If it is moving or shaking, it’s possible that the putty is compromised and needs to be replaced.
Also watch for bull’s eyes, small bubbles in the glass, and little lead lines. If the glass has these, it’s likely that it was made after 1875. If the glass is actually a type of plastic, it feels warmer than the actual glass. It’s a good idea to compare the temperature and the shape of the piece to help you determine its authenticity.